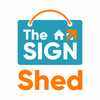

Safety signs are far more than just bits of plastic stuck to a wall. They're a silent, universal language that speaks volumes about safety, instantly cutting through the noise of a busy workplace to prevent accidents and keep you on the right side of the law. Think of them as the road signs of your building; they’re your first line of defence, guiding staff and visitors away from danger.
Why Safety Signs Are Your First Line of Defence
Imagine trying to navigate a busy motorway with no speed limits, no warnings for sharp bends, and no directions. It would be absolute chaos, right? Your workplace isn't all that different. Safety signs are the quiet guardians that deliver crucial information exactly when and where people need it most.
They aren't just a good idea; they're a legal necessity. The Health and Safety at Work etc. Act 1974 lays the groundwork, but it's the Health and Safety (Safety Signs and Signals) Regulations 1996 that really gets specific. It states that employers must use safety signs wherever a significant risk remains after all other practical safety measures have been exhausted. This isn't about ticking a box to avoid a fine; it’s about actively protecting people from harm.
The Real Cost of Inadequate Signage
The consequences of missing or unclear visual warnings can be devastating, leading to preventable injuries and staggering financial fallout. The costs of a workplace accident ripple outwards, hitting everything from productivity and staff morale to insurance premiums and legal fees.
Good, clear signage is a direct investment in your organisation's health. By clearly flagging hazards, mandating PPE, or pointing the way to safety, these signs help build a proactive safety culture where everyone understands their environment and feels protected.
Understanding the UK Safety Landscape
Recent figures from the Health and Safety Executive (HSE) show just how vital these measures are. In 2022/23, there were an estimated 561,000 non-fatal worker injuries reported. And while the UK generally has a strong safety record, the number of fatal injuries rose to 135 in 2022/23, a stark reminder that there is absolutely no room for complacency. These numbers prove why clear, compliant signs are non-negotiable for communicating risk.
A comprehensive signage strategy is more than just a regulatory checkbox—it is a cornerstone of a responsible and thriving business. It demonstrates a commitment to employee welfare that resonates throughout the entire organisation.
Beyond the standard signs, you'll often need something more specific for unique equipment or high-risk areas. For machinery or materials with particular dangers, custom solutions like warning labels printing ensure that precise safety information is delivered right at the point of interaction. This targeted approach is vital for stopping accidents before they happen.
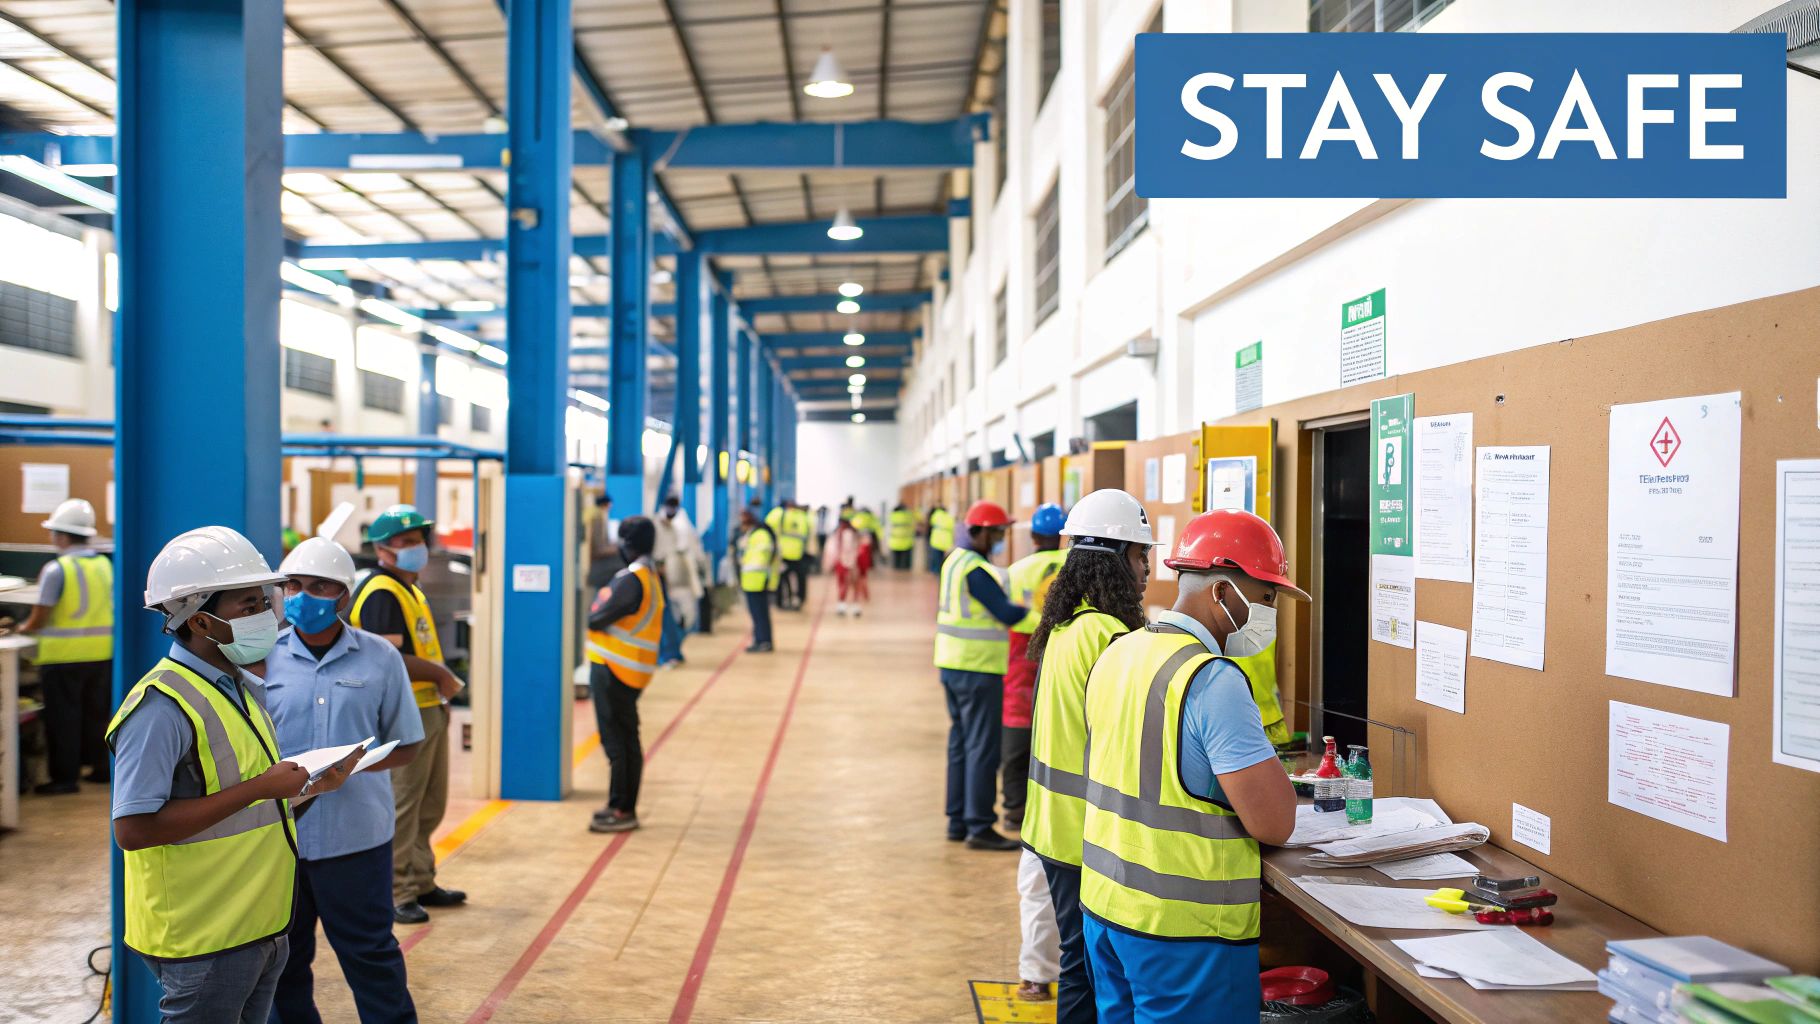
The Four Categories of UK Safety Signs Explained
Knowing the visual language of safety signs for the workplace is more than just a box-ticking exercise; it’s a fundamental skill for everyone. This system isn’t random. It’s a carefully crafted code, governed by UK law, designed to give you vital, often life-saving, information in a split second.
Think of it like a traffic light system for your workplace. Red means stop, danger. Yellow means slow down, be aware. Green means you’re on the right path. Blue means you have a specific instruction to follow. Your brain gets the main message from the colour and shape long before you’ve even read the words.
This whole framework is laid out in the Health and Safety (Safety Signs and Signals) Regulations 1996. Let's break down these four core categories so you can see exactly how they work.
Prohibition Signs: Do Not...
These are the most direct and urgent signs you'll encounter. Their job is brutally simple: to tell you what you absolutely must not do. You’ll recognise them instantly – a circle with a bold red border, a white background, and a black image crossed out with a red diagonal line. That flash of red is designed to grab your attention and signal immediate danger.
You'll find these signs wherever a specific action could lead to serious, instant harm. Think 'No Smoking' signs near flammable liquids, 'No Entry' for restricted areas, or 'Do Not Operate' slapped on a piece of faulty equipment. Ignoring one of these isn't just breaking a rule; it's putting yourself and everyone around you at risk.
Warning Signs: Proceed with Caution
While prohibition signs forbid an action, warning signs are there to give you a heads-up about a potential hazard that might not be immediately obvious. They’re telling you to be alert and mindful of your surroundings. These signs are always a triangle with a black border, a bright yellow background, and a black picture showing the specific danger.
That classic yellow and black combination isn't just for show; it's one of the most visible colour pairings, designed to catch your eye from a distance. Common examples you’ll see every day include:
- Caution Slippery Surface: Essential for anywhere with spills or wet floors.
- Danger High Voltage: Placed near serious electrical hazards.
- Beware of Forklift Trucks: A must-have for any warehouse or loading bay.
These signs don’t tell you to turn back, but they do arm you with the critical knowledge you need to move forward safely. For a more detailed look into what each symbol means, you can learn more about UK health and safety signs and their specific definitions.
Mandatory Signs: You Must...
Mandatory signs are the flip side of prohibition signs. They don't tell you what not to do; they tell you exactly what you must do to stay safe. They demand a specific action before you can enter an area or start a task. You'll know them by their distinct look: a solid blue circle with a white pictogram.
The solid blue colour is associated with instruction and command, making it clear that the action is compulsory. These signs are the backbone of enforcing Personal Protective Equipment (PPE) rules and other essential safety protocols.
A mandatory sign isn't a suggestion. It's a direct order, backed by your employer's legal duty of care. Following these instructions is a non-negotiable part of keeping everyone safe at work.
You’ll frequently see signs like 'Eye Protection Must Be Worn' in workshops, 'Hard Hats Must Be Worn' on building sites, or 'Keep Fire Door Shut' along corridors. They’re the constant, quiet reminders of the procedures you have to follow.
Safe Condition Signs: Your Path to Safety
Last but not least, safe condition signs are your friendly guides to help and safety. Their entire purpose is to point you towards first aid, life-saving equipment, or the quickest way out. These signs are always a green rectangle or square with a white image.
Green is the universal colour for safety and 'go', offering a sense of calm and direction, especially in a high-stress situation. If there’s a fire or a medical emergency, these signs become your lifeline. They clearly mark the location of a 'First Aid Station', point the way to a 'Fire Exit', or show you where to find an 'Emergency Eye Wash' station. Their simple, clear design is all about helping people find what they need to get to safety, fast.
To make it even clearer, here's a quick summary of the four types:
UK Safety Sign Categories at a Glance
| Category | Meaning | Colour | Shape | Example Action |
|---|---|---|---|---|
| Prohibition | You MUST NOT do something | Red | Circle | No Smoking |
| Warning | Be careful of a potential hazard | Yellow | Triangle | Slippery Surface |
| Mandatory | You MUST DO something | Blue | Circle | Wear Hard Hat |
| Safe Condition | Shows the way to safety | Green | Rectangle/Square | Fire Exit |
By getting to grips with this simple colour-and-shape code, you can instantly understand the safety instructions around you, helping to create a much safer environment for everyone.
Meeting Your Legal Duties for Workplace Signage

Navigating your legal duties for safety signs for the workplace can feel a bit like wading through treacle. The good news? It all boils down to a fundamental principle of care. As an employer in the UK, your responsibilities are set out by the Health and Safety Executive (HSE), and every rule is there for one simple reason: to keep people safe.
The bedrock of it all is the Health and Safety at Work etc. Act 1974. Think of this as the granddaddy of all safety laws. It places a broad duty on every employer to ensure, as far as is reasonably practicable, the health, safety, and welfare of their team. This is the "why" behind every specific regulation that follows.
It All Starts with a Risk Assessment
You can't protect people from dangers you haven't identified. That's where a risk assessment comes in, and it's far more than a box-ticking exercise. It's an active process of walking through your workplace, spotting potential hazards, figuring out how serious they are, and then taking action to get rid of or control them.
So, where do signs fit in? They're your last line of defence. If you can't completely engineer a risk away—say, a machine will always be loud, or a specific walkway is often wet—a sign becomes a vital tool to warn, instruct, and inform.
The rule of thumb is simple: if a risk remains after you’ve put every other practical safety measure in place, you must use a sign to communicate that danger. This isn't optional; it's a legal must-do.
The nitty-gritty of this is laid out in the Health and Safety (Safety Signs and Signals) Regulations 1996. This law makes it clear that employers have to provide and maintain safety signs wherever there's a significant risk that hasn't been controlled by other means. This covers everything from permanent signs to temporary warnings for things like cleaning or maintenance work.
Creating a Universal Language with BS EN ISO 7010
For a sign to do its job, it has to be understood in a split second. That's the whole point of BS EN ISO 7010. This British Standard creates a consistent, universal visual language using specific symbols and colours that cut through any language barriers.
Sticking to this standard is non-negotiable for compliance. It guarantees that the pictogram for a fire exit, high voltage, or a first aid station is instantly recognisable to absolutely anyone, whether they're a lifelong employee or a first-time visitor. Choosing reputable workplace safety signs suppliers is the surest way to know your signs are up to scratch and meet these crucial standards.
Seeing the Bigger Picture
Your duty to provide clear signage doesn't exist in a vacuum; it’s part of a much wider framework of UK safety law. The 1974 Act paved the way for more specific rules, like the Management of Health and Safety at Work Regulations 1999, which require employers to conduct risk assessments. This data helps the HSE pinpoint where things are going wrong and how interventions, including the proper use of safety signs for the workplace, can make a real difference.
Ultimately, getting your signage right is about more than just avoiding fines. It’s about building a fundamentally safer place to work. A well-placed first aid sign, for example, is a direct fulfilment of both your legal and moral duty to look after your people. For a deeper dive, check out our guide on why first aid signs are a necessary part of your safety strategy. By getting to grips with these key regulations, you can turn compliance into a culture of safety.
Choosing the Right Sign Material and Design
Picking the right safety signs for the workplace is about more than just the words on them. The sign itself—what it's made of and how it’s designed—is just as crucial. After all, a sign that fades in the sun, peels off the wall, or is too small to read from a distance is about as useful as no sign at all.
Think of it as a practical balancing act. You've got to weigh up the location, how long you need it to last, and your budget. A paper sign might be fine for a one-off event, but it wouldn't last five minutes on a muddy construction site or in the steamy environment of a commercial kitchen. Getting this choice right from the start saves you money and headaches, ensuring your safety warnings stay visible and compliant.
Selecting the Best Material for the Job
The environment is the ultimate decider when it comes to material. Each option has its own strengths, suited for different conditions, from a quiet office corridor to an exposed, weather-beaten yard. Knowing the difference is key to making a smart investment in your safety strategy.
Here’s a breakdown of the most common materials and where they shine:
- Self-Adhesive Vinyl: Perfect for smooth, clean indoor surfaces. Think sticking it on doors, machinery, or plastered walls. It’s a cost-effective and simple solution but won’t hold up on rough textures or against the great British weather.
- Rigid PVC Plastic: A solid step up in durability. This is a versatile workhorse for both inside and out. It’s weatherproof, a breeze to wipe clean, and can be fixed to almost anything, including fences and bumpy walls.
- Aluminium: When you need the toughest, longest-lasting option, aluminium is your go-to. It’s incredibly resistant to weather, doesn't rust, and can take the knocks and scrapes of a busy industrial site. This makes it ideal for large external safety boards or warnings on the factory floor.
We have to give a special mention to photoluminescent material. This 'glow-in-the-dark' option isn't just a neat feature; it’s a legal must-have for many fire safety signs. Under the Regulatory Reform (Fire Safety) Order 2005, escape routes must be clearly marked, and photoluminescent signs make sure that guidance is visible even if the power cuts out, lighting the way to safety.
Getting the Design and Dimensions Right
Once you've nailed down the material, you need to think about the sign's design—specifically its size and how easy it is to read. A safety sign only does its job if people can see and understand it from a safe distance. This isn't just guesswork; the HSE has clear guidance on viewing distances.
The principle is dead simple: the further away you need to read the sign, the bigger it and its text must be. A small sign that’s perfectly clear when you're a metre away becomes an unreadable smudge from ten metres back. You must figure out the maximum distance an employee or visitor will need to see the sign from and choose a size that works. This ensures your message gets across well before anyone wanders into a hazard zone, giving them plenty of time to react.
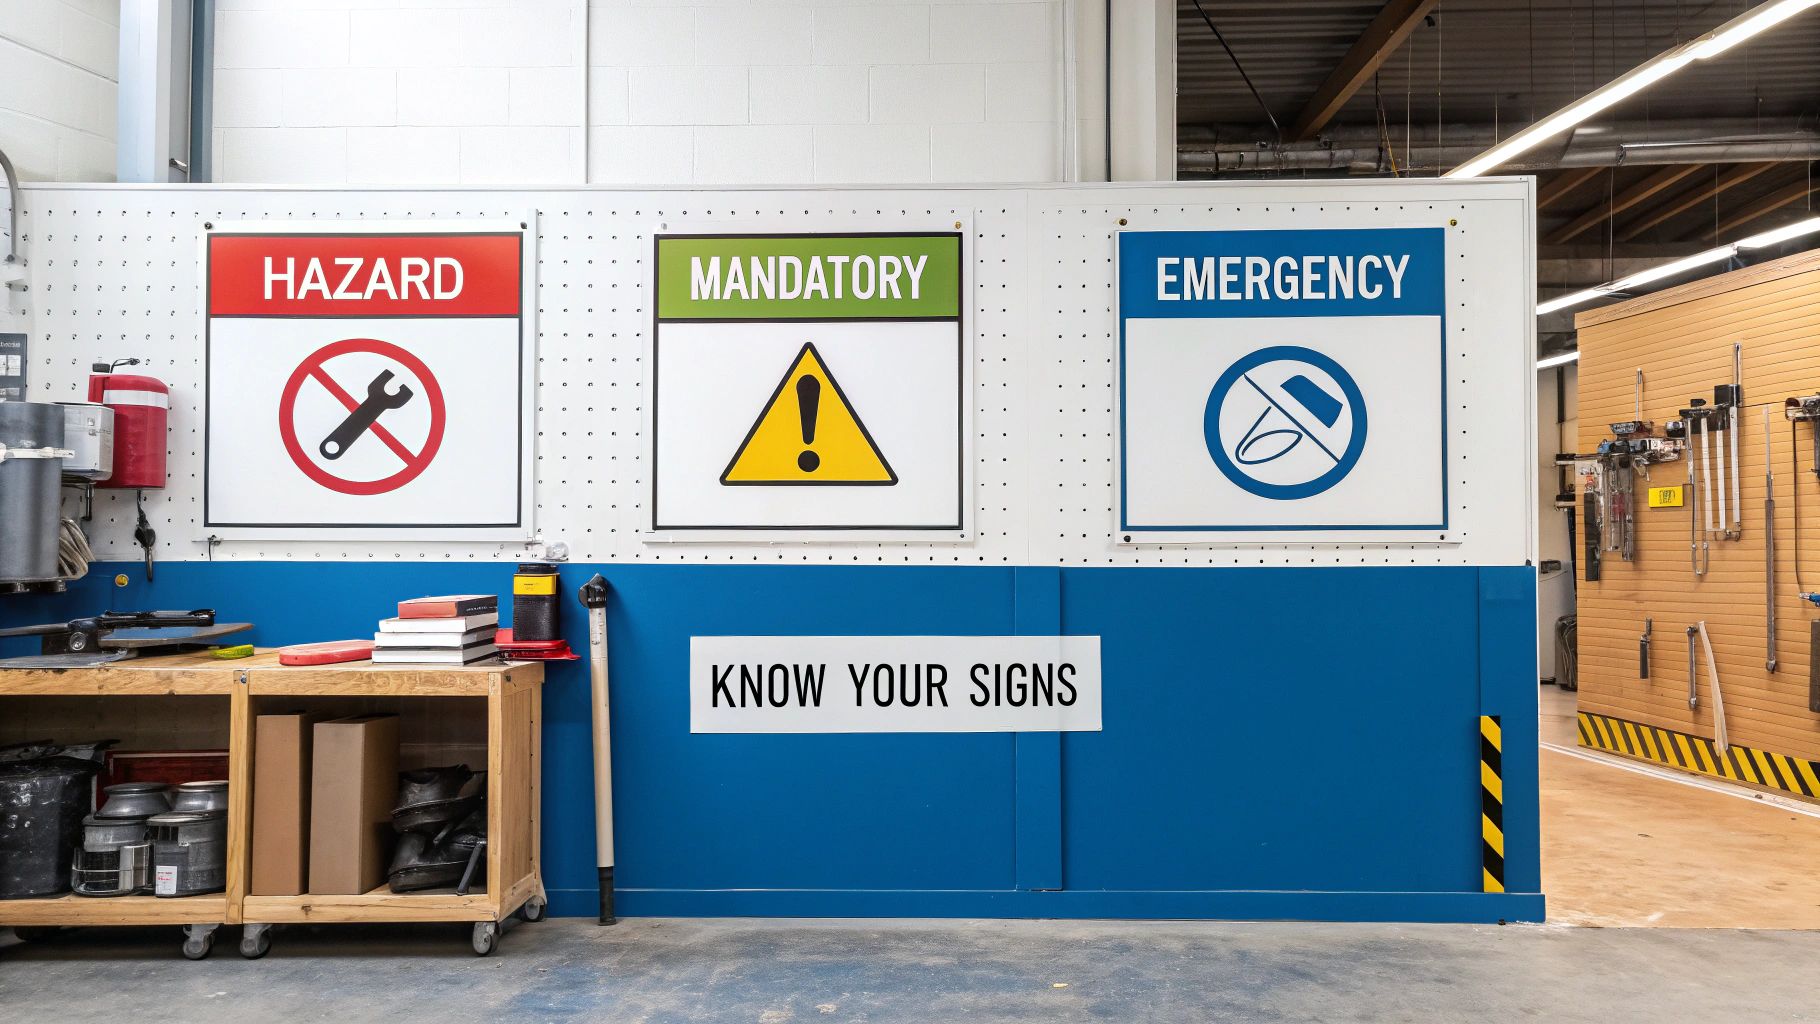
Strategic Placement and Maintenance of Your Signs
Even the best-designed, most compliant sign in the world is completely useless if nobody sees it. Nailing your safety signs for the workplace is only half the battle; knowing exactly where to put them and how to look after them is what really makes your safety system work. It’s all about giving people a heads-up in time to act.
Think of it this way: a 'Slippery Surface' sign is no good if it's placed right in the middle of the wet patch. The warning has to come before the hazard. This simple logic is the absolute core of effective sign placement. You're anticipating how people move and giving them the info they need before they make a critical decision, like turning a corner or opening a door.
Getting the Placement Right First Time
Placing signs correctly is a mix of common sense and following the rules. The goal is to make them impossible to miss without creating a mess of visual clutter.
Signs need to be positioned within a person’s normal line of sight, which is generally at eye level. This way, they get noticed without any special effort. A sign that’s too high or too low is just decoration in a busy environment.
To make sure your signs have maximum impact and tick all the HSE boxes, stick to these key principles:
- Position at Eye Level: The sweet spot is roughly 1.5 to 2 metres from the floor. This makes it clearly visible to most adults.
- Place Before the Hazard: Always give people enough space and time to see the sign, understand it, and react accordingly. Don't put it right on top of the danger zone.
- Ensure Good Lighting: A sign lurking in the shadows might as well not be there. Make sure all your signs, especially crucial ones like fire exits, are well-lit.
- Avoid Obstructions: It's a classic mistake – putting a sign where an open door, a parked forklift, or a stack of boxes will block it. Always check the sightlines from every likely direction someone might approach from.
Avoiding Sign Fatigue and Clutter
More isn't always better. Plastering every available wall with signs can backfire, leading to what’s known as 'sign fatigue'. When people are bombarded with too much information, their brains tend to switch off and ignore all of it – including the most critical warnings.
An effective signage strategy is about clarity, not quantity. A few well-placed, relevant signs will have far more impact than a cluttered wall of competing messages. Prioritise the most significant risks to ensure they get the attention they deserve.
This is exactly why regular risk assessments are so important. They help you zero in on the genuine hazards that need a sign, preventing your vital safety messages from getting drowned out by unnecessary visual noise. It’s about delivering the right message, in the right place, at the right time.
A Simple Maintenance Checklist
Safety signs aren't a 'fit and forget' job. They take a beating from the weather, get covered in grime, and suffer general wear and tear from daily workplace life. A faded, damaged, or dirty sign can become impossible to read, making it useless and potentially non-compliant.
Luckily, a quick and regular inspection is all it takes to keep your system reliable.
Putting a simple maintenance schedule in place is easy. Use this checklist as a starting point for a monthly or quarterly once-over:
- Is it Clean and Legible? Check for any dirt, grime, or graffiti that could be hiding the message or symbol.
- Is it Faded or Damaged? Look for signs of sun-bleaching, peeling paint, cracks, or rust that make it hard to read.
- Is it Still in the Right Place? Make sure the sign hasn't been moved and is still visible and unobstructed.
- Is the Hazard Still Relevant? If a sign was for a temporary hazard that's now gone, take it down. This helps reduce clutter.
Following this simple routine ensures your communication system remains a reliable and effective pillar of your workplace safety culture. In the same way, keeping your first aid provisions in check is crucial, and you can explore the essential role of first aid signs in our dedicated guide.
Your Workplace Safety Sign Questions, Answered
Even when you've got a handle on the basics, real-world questions about safety signs for the workplace always pop up. It's one thing to know the rules, but another to apply them on a busy Tuesday afternoon.
Let's tackle some of the most common queries we hear. Think of this as your go-to guide for those tricky situations, helping you stay compliant and, more importantly, keep everyone safe.
How Often Should I Check My Safety Signs?
Think of your signage as a living part of your safety system, not a 'fit and forget' job. A formal review should happen at least annually, tying in neatly with your main health and safety audit.
However, certain events should trigger an immediate review. You'll need to reassess your signs straight away if you:
- Bring in new equipment or chemicals.
- Change the layout of your building.
- Overhaul a work process.
- Spot a new hazard during a risk assessment.
The bottom line is simple: if the risk changes, the sign must change with it. Outdated signs are not just unhelpful; they're dangerous.
Are Temporary Signs Okay to Use?
Absolutely. In fact, under the Health and Safety (Safety Signs and Signals) Regulations 1996, temporary signs are often a legal requirement for communicating short-term hazards.
That 'Caution Wet Floor' sign used during cleaning? That's a perfect example of a necessary, compliant temporary sign. The same goes for a 'Danger Men at Work' sign sectioning off a maintenance area. The key is that the sign must still meet the proper standards for colour and design, and crucially, it must be removed as soon as the hazard is gone. Leaving it up just creates background noise and can lead to people ignoring signs altogether.
What's the Best Way to Handle Signs for a Multilingual Team?
This is where the universal language of pictograms really proves its worth. The symbols set out in BS EN ISO 7010 are designed to be understood by anyone, anywhere, regardless of the language they speak. They cut through the noise instantly.
While symbols are the cornerstone of universal communication, the HSE advises backing them up with text in multiple languages if your team is diverse. This dual approach ensures no one is left guessing. It’s about building a safety culture that includes and protects every single person on site.
Ultimately, clear and unambiguous communication is your goal. Combining internationally recognised symbols with multilingual text is the gold standard for making sure every employee understands the risks and the right way to proceed. Getting these practical details right is what turns your signage strategy from a compliance exercise into a powerful, life-saving tool.
For a complete range of legally compliant safety signs for the workplace, from standard warnings to custom designs, trust The Sign Shed. As the UK's leading online sign provider, we have everything you need to keep your premises safe and meet all HSE requirements. Explore our extensive collection at https://www.thesignshed.co.uk.
Article created using Outrank
0 comments